

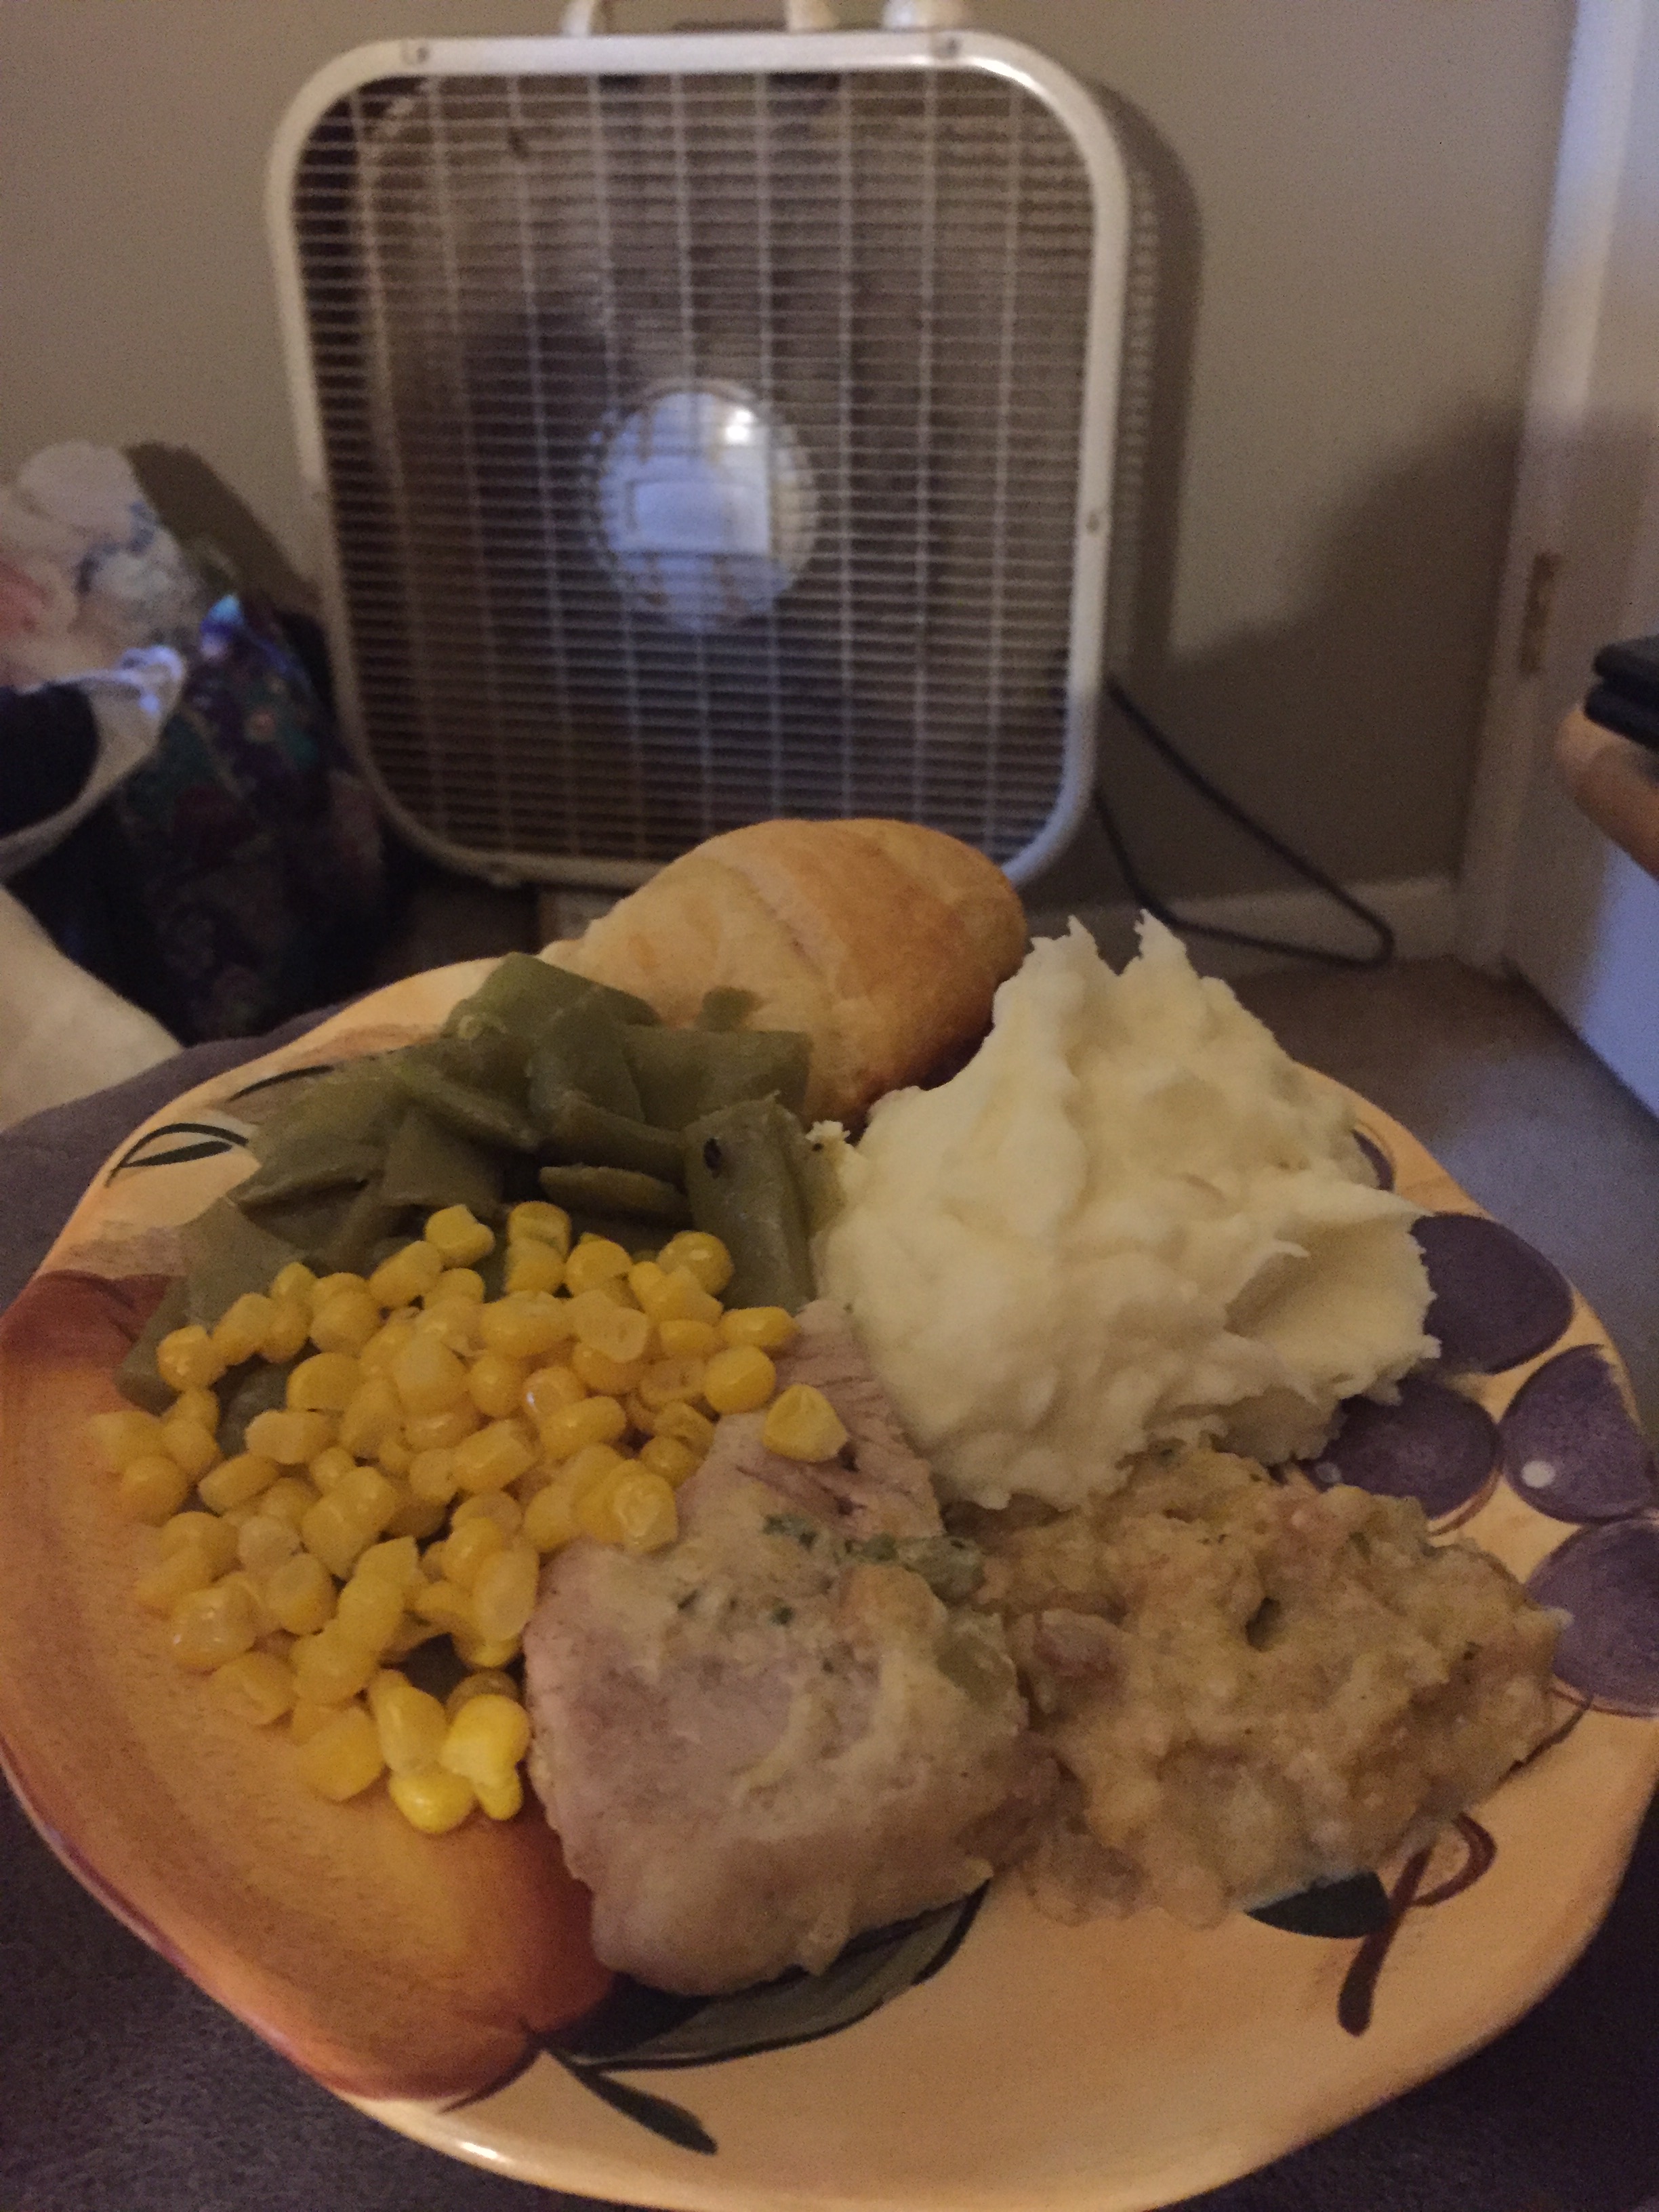
Okay… just to let ya know what you are seeing in the pic, on the top is the croissant, next row is flat green beans and mashed potatoes, last we have corn, ham, and baked beans… 😛 but for this post we are focusing on the ham (or any oven back meat really)
The secret to fall apart meat? lower the temperature and up the time!!!
For the Ham, I put the oven on 275 degrees (which is about the temp I usually use, but the rule is half the temp.) I went a little above half for my temp because cooking below 275 seems insane to me, but you are welcome to try.
a Ham is a good meat to start your experiments with.. most of the holiday Hams come pre-cooked. In fact, some people just cut and serve (which I would never do. I like to up the taste)
Getting a cookie sheet, I place a disposable aluminum pan on the cookie sheet. Placing the Ham inside, I am ready to start.
                 Ingredients: for a smaller ham, can double if needed
              Ham (I use superior tavern ham)
              can of Pineapple slices (as many as you want)
              juice from Pineapples
              1/2 cup of brown sugar (I sometimes use sugar-free)
              1/2 stick of butter
              Diet coke (about half a can)
With toothpicks, I arrange pineapple slices around my ham. I half a dozen slices to a full dozen. Basically, I used different numbers depending on the size of the Ham. Some times I also stab into the Ham so that the mixture will soak in more.
Melting my butter, I then add in the pineapple juice and sugar, and stir well. Last I pour in my diet coke and mix a little before pouring over my Ham.
Using aluminum foil, I pull off two pieces a little longer than the pan. Placing them on top of one another, I fold the edges over a few time so that when opened there is an extra wide piece. I then place the foil over my Ham and secure the edges tightly. This gives a cooking bag effect (pressure cooker).
Finally, making sure the shelf in the oven is on the lowest level, I cook my Ham for 7-8 hours. The longer you cook the Ham, the more you increase the tenderness of the Ham. I learned this technique from my aunt, after eating a Ham she cooked that was so tender it was falling apart.
The end result is definitely worth the longer cook time. And on the plus side, any leftovers can be frozen to eat on their own, or used in things like white/brown bean, vegetable soup, etc… use your imagination!
